How do I export from Corfix and import into Quickbooks desktop(QBD)?

This article will summarize how to export from Corfix and import into Quickbooks desktop(QBD).

IMPORTANT: You need to make sure you set up your Corfix account before you move forward, if you have not done so please click on the link below:
 
Come back here once you have set everything up!

First you are going to have to download your export. This is fairly simple, you want to follow the path below:

Timekeeping>Export

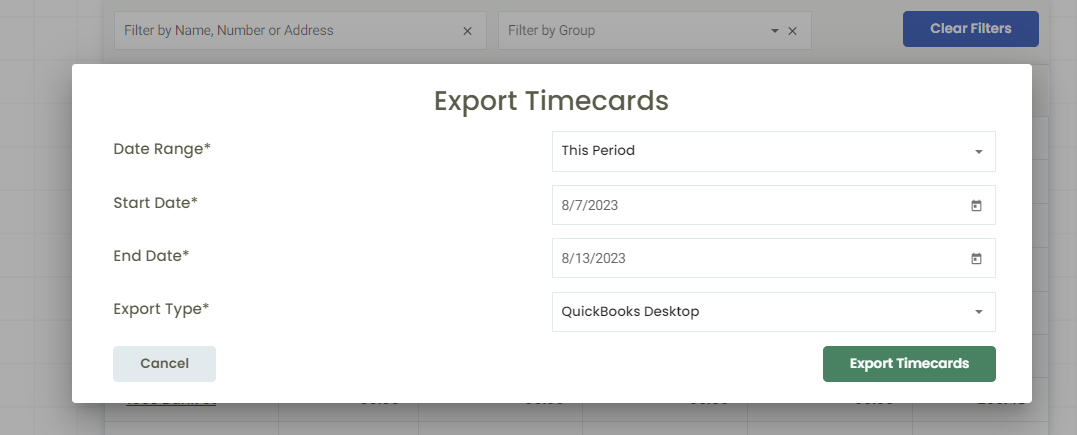
Once you are here you want to choose what you want to export:

1. Date Range

2. Export type, which will be Quickbooks Desktop.

Once you have everything selected, press the Export Timecards button, this will download an iif. file which you will be using in your QBD account to import. Once downloaded the file can be found in your download folder.


You have your Corfix Timekeeping export download, now what? Watch the video below to see how to export and import into QBD. If you want Step by Step instructions skip down below!


Step by Step instructions below:
1. Make sure you have the correct permissions to upload to your Quickbooks Desktop environment, check with your QBD admin.
2. Go to your Quickbooks desktop app.
3. Select the "File" tab in the top left.
4. From the "File" dropdown, select "Utilities"
5. Select "Import".
6. Select "IIF Files".Quickbooks desktop-1
 
7. You will then see this pop-up:
8. Click "Import it for me. I'll fix it later" 

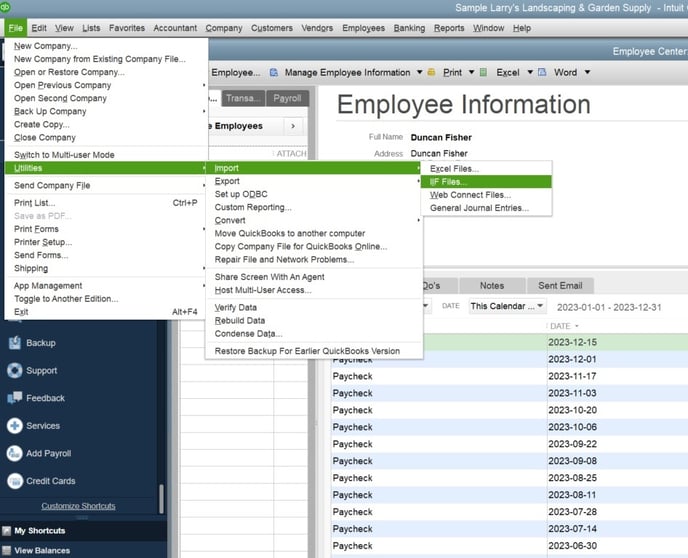
Make sure to choose "Import it for me. I'll fix it later"  every time you import. This will make sure that all cost codes get imported correctly each time.

9. You will then be prompted to choose the file you previously downloaded from Corfix.
10. Your Worker hours will then be imported into the Quickbooks weekly timesheets! timesheet (4)
🎉You have completed your first import into QBD!🎉If you have any further questions please reach out to your Customer Success Manager or support.